Linked Audiences
Engage Foundations requires a Business tier account and includes Unify.
See the available plans, or contact Support.
Linked Audiences is in public beta
Linked Audiences is in public beta, and Segment is actively working on this feature. Some functionality may change before it becomes generally available.
With Linked Audiences, you can build an audience that uses the relational data you’ve defined in your Data Graph, activate profile audiences, or send relational data to your source.
To learn more about specific use cases you can set up with Linked Audiences, see the Linked Audiences Use Cases topic.
Prerequisites
Before you begin setting up your linked audience, ensure you have:
- Set up profiles sync.
- Set up your warehouse permissions using Snowflake.
- Ensure someone has set up your data graph Workspace Owner or Unify Read-Admin, Entities Admin, and Source Admin permissions.
Setting up Linked Audiences
To set up your linked audience, complete the following steps:
- Step 1: Build a linked audience
- Step 2: Activate your Linked Audiences
- Step 3: Enable your linked audience
- Step 4: Confirm the payload in your destination
Step 1: Build a Linked Audience
Linked Audiences allows you to filter based on properties such as profile traits, relational data mapped to the Data Graph, events, and existing audiences.
To build a Linked Audience:
- Navigate to Engage > Audiences.
- Select + New audience > Audience.
- On the Select Audience Type screen, select Linked audience, then click Next. Note: if you cannot select Linked audience, ensure you’ve set up your Data Graph in Unify.
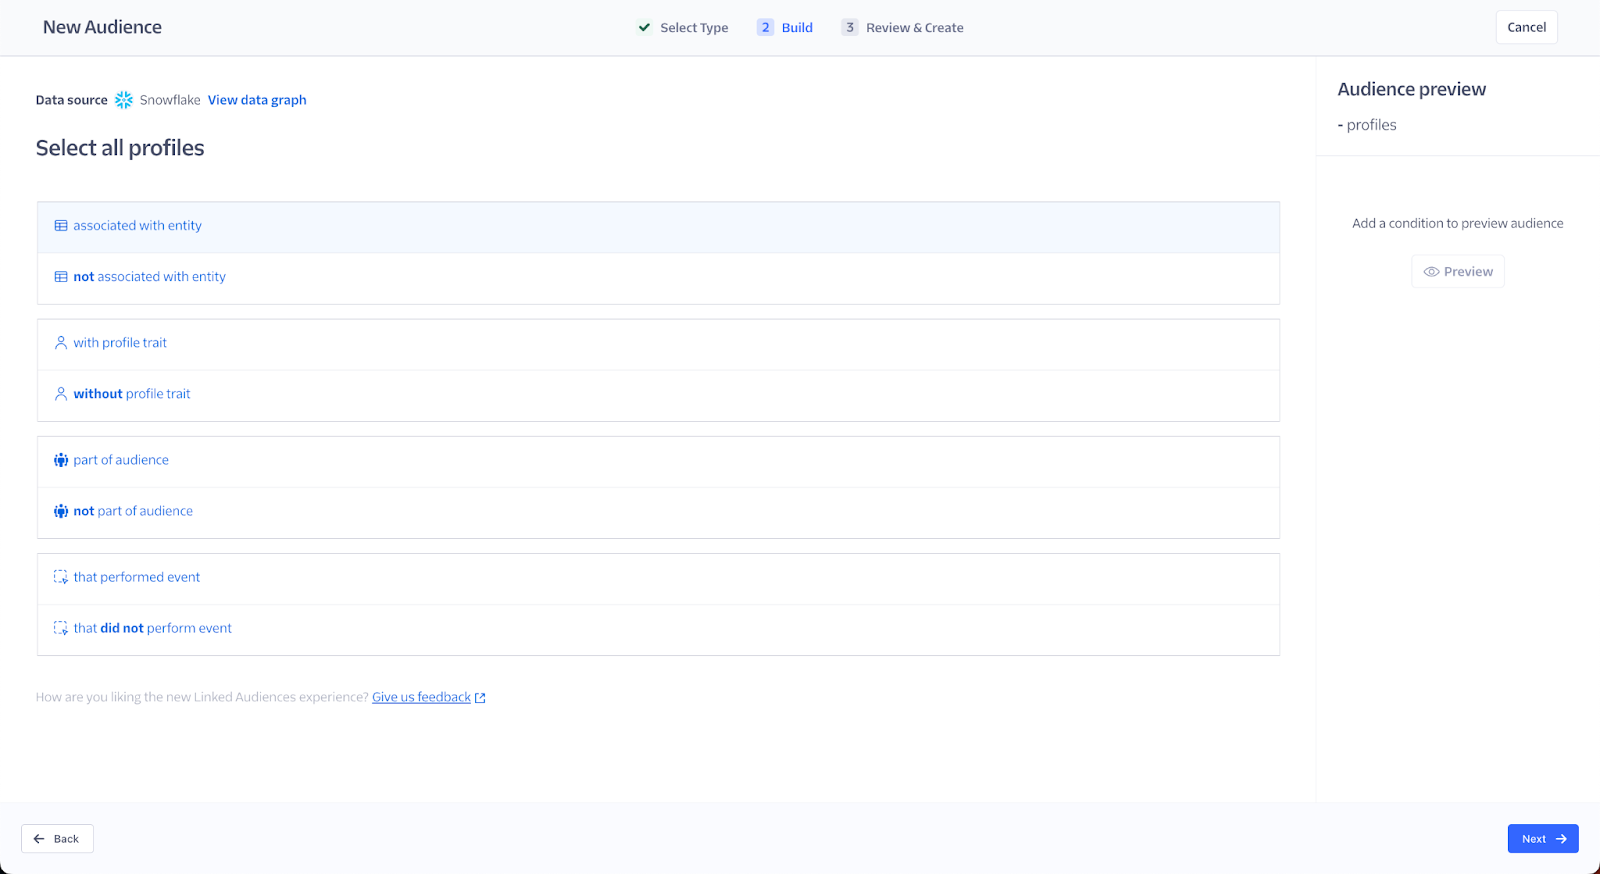
- Select the event conditions on which to build your audience.
- Click Preview to view your audience selection and see a count of audience members who meet the criteria.
- When your audience is complete and accurate, click Next.
- Enter an audience name and description to identify this configuration. Optionally, select a folder to add this Audience.
- Click Create Audience.
Step 2: Activate your Linked Audience
After you build your Linked Audience, you can send events to your chosen destinations and use them for personalizing your customer communications. To take advantage of this feature, you’re required to set up a few steps that will result in activating your Linked Audience.
These steps include:
- Step 2a: Connecting to a Destination
- Step 2b: Selecting your Destination Actions
- Step 2c: Defining how and when to trigger an event to your Destination
- Step 2d: Configuring the event payload
Step 2a: Connecting to a Destination
Destinations are the business tools or apps that Segment forwards your data to. Adding a Destination allows you to act on your data and learn more about your customers in real time. To fully take advantage of Linked Audiences, you must connect and configure at least one Destination.
Before you can connect your Linked Audience to any Destination, ensure it has been configured as a Destination.
- From the audience overview page, select Add destination.
- Select the event Destination from the list of pre-connected choices.
- Click Configure data to send to destination.
Step 2b: Select your Destination Actions
The Destination Actions framework allows you to see and control how Segment sends the event data it receives from your sources, to actions-based destinations. Each Action in a destination lists the event data it requires, and the event data that is optional.
Segment displays available actions based on the Destination you’ve connected with your Linked Audience.
Select the Destination Action to call when the event happens, then click Next.
Step 2c: Define how and when to trigger an event to your Destination
Configure how and when events are produced with each audience run. You can choose the entities referenced in the audience builder to trigger an event off of.
Step 2d: Configure the event
After you select an action, Segment attempts to automatically configure the data fields that will be sent to the Destination. You can review and adjust these settings before enabling this event.
Step 3: Enable your Linked Audience
After building your Linked Audience, you’ll be redirected to the Audience Overview page. By default, the audience is disabled so that it does not start computing until you’re ready. To enable your audience:
Select the Enabled toggle, then select Enable audience.
You can trigger a compute for your audience if you want to send events to your Destination without waiting for the next scheduled compute run. To do so, select Compute Now. This triggers a compute for the audience (where the audience conditions run on your data warehouse) and sends events downstream.
Step 4: Confirm the payload in your Destination
Linked Audiences sends events to your Destination after Segment computes the audience.
To confirm your Destination is receiving events, Segment recommends that you log in to your Destination and perform one of the following:
- Monitor the event activity
- Search for the
UserIDorEvent Name(for example,Entity Added)
This page was last modified: 15 May 2024
Need support?
Questions? Problems? Need more info? Contact Segment Support for assistance!